
Gaming in the cloud
I have been a gamer since my childhood. Watching my cousins play Half-Life or Return to Castle Wolfenstein, through playing GTA: Vice City, Counter-Strike, exploring the metaverse - Second Life and participating in the combat community there, to playing Arma 3, Battlefield 3 and 4, Cyberpunk 2077 and more recent games. I have, however always struggled behind with my computer hardware. Not being able to run the latest games on the highest settings, or even run them at all. This has changed since Microsoft Azure introduced its N-series Virtual Machines which contain a dedicated GPU (back in 2016).
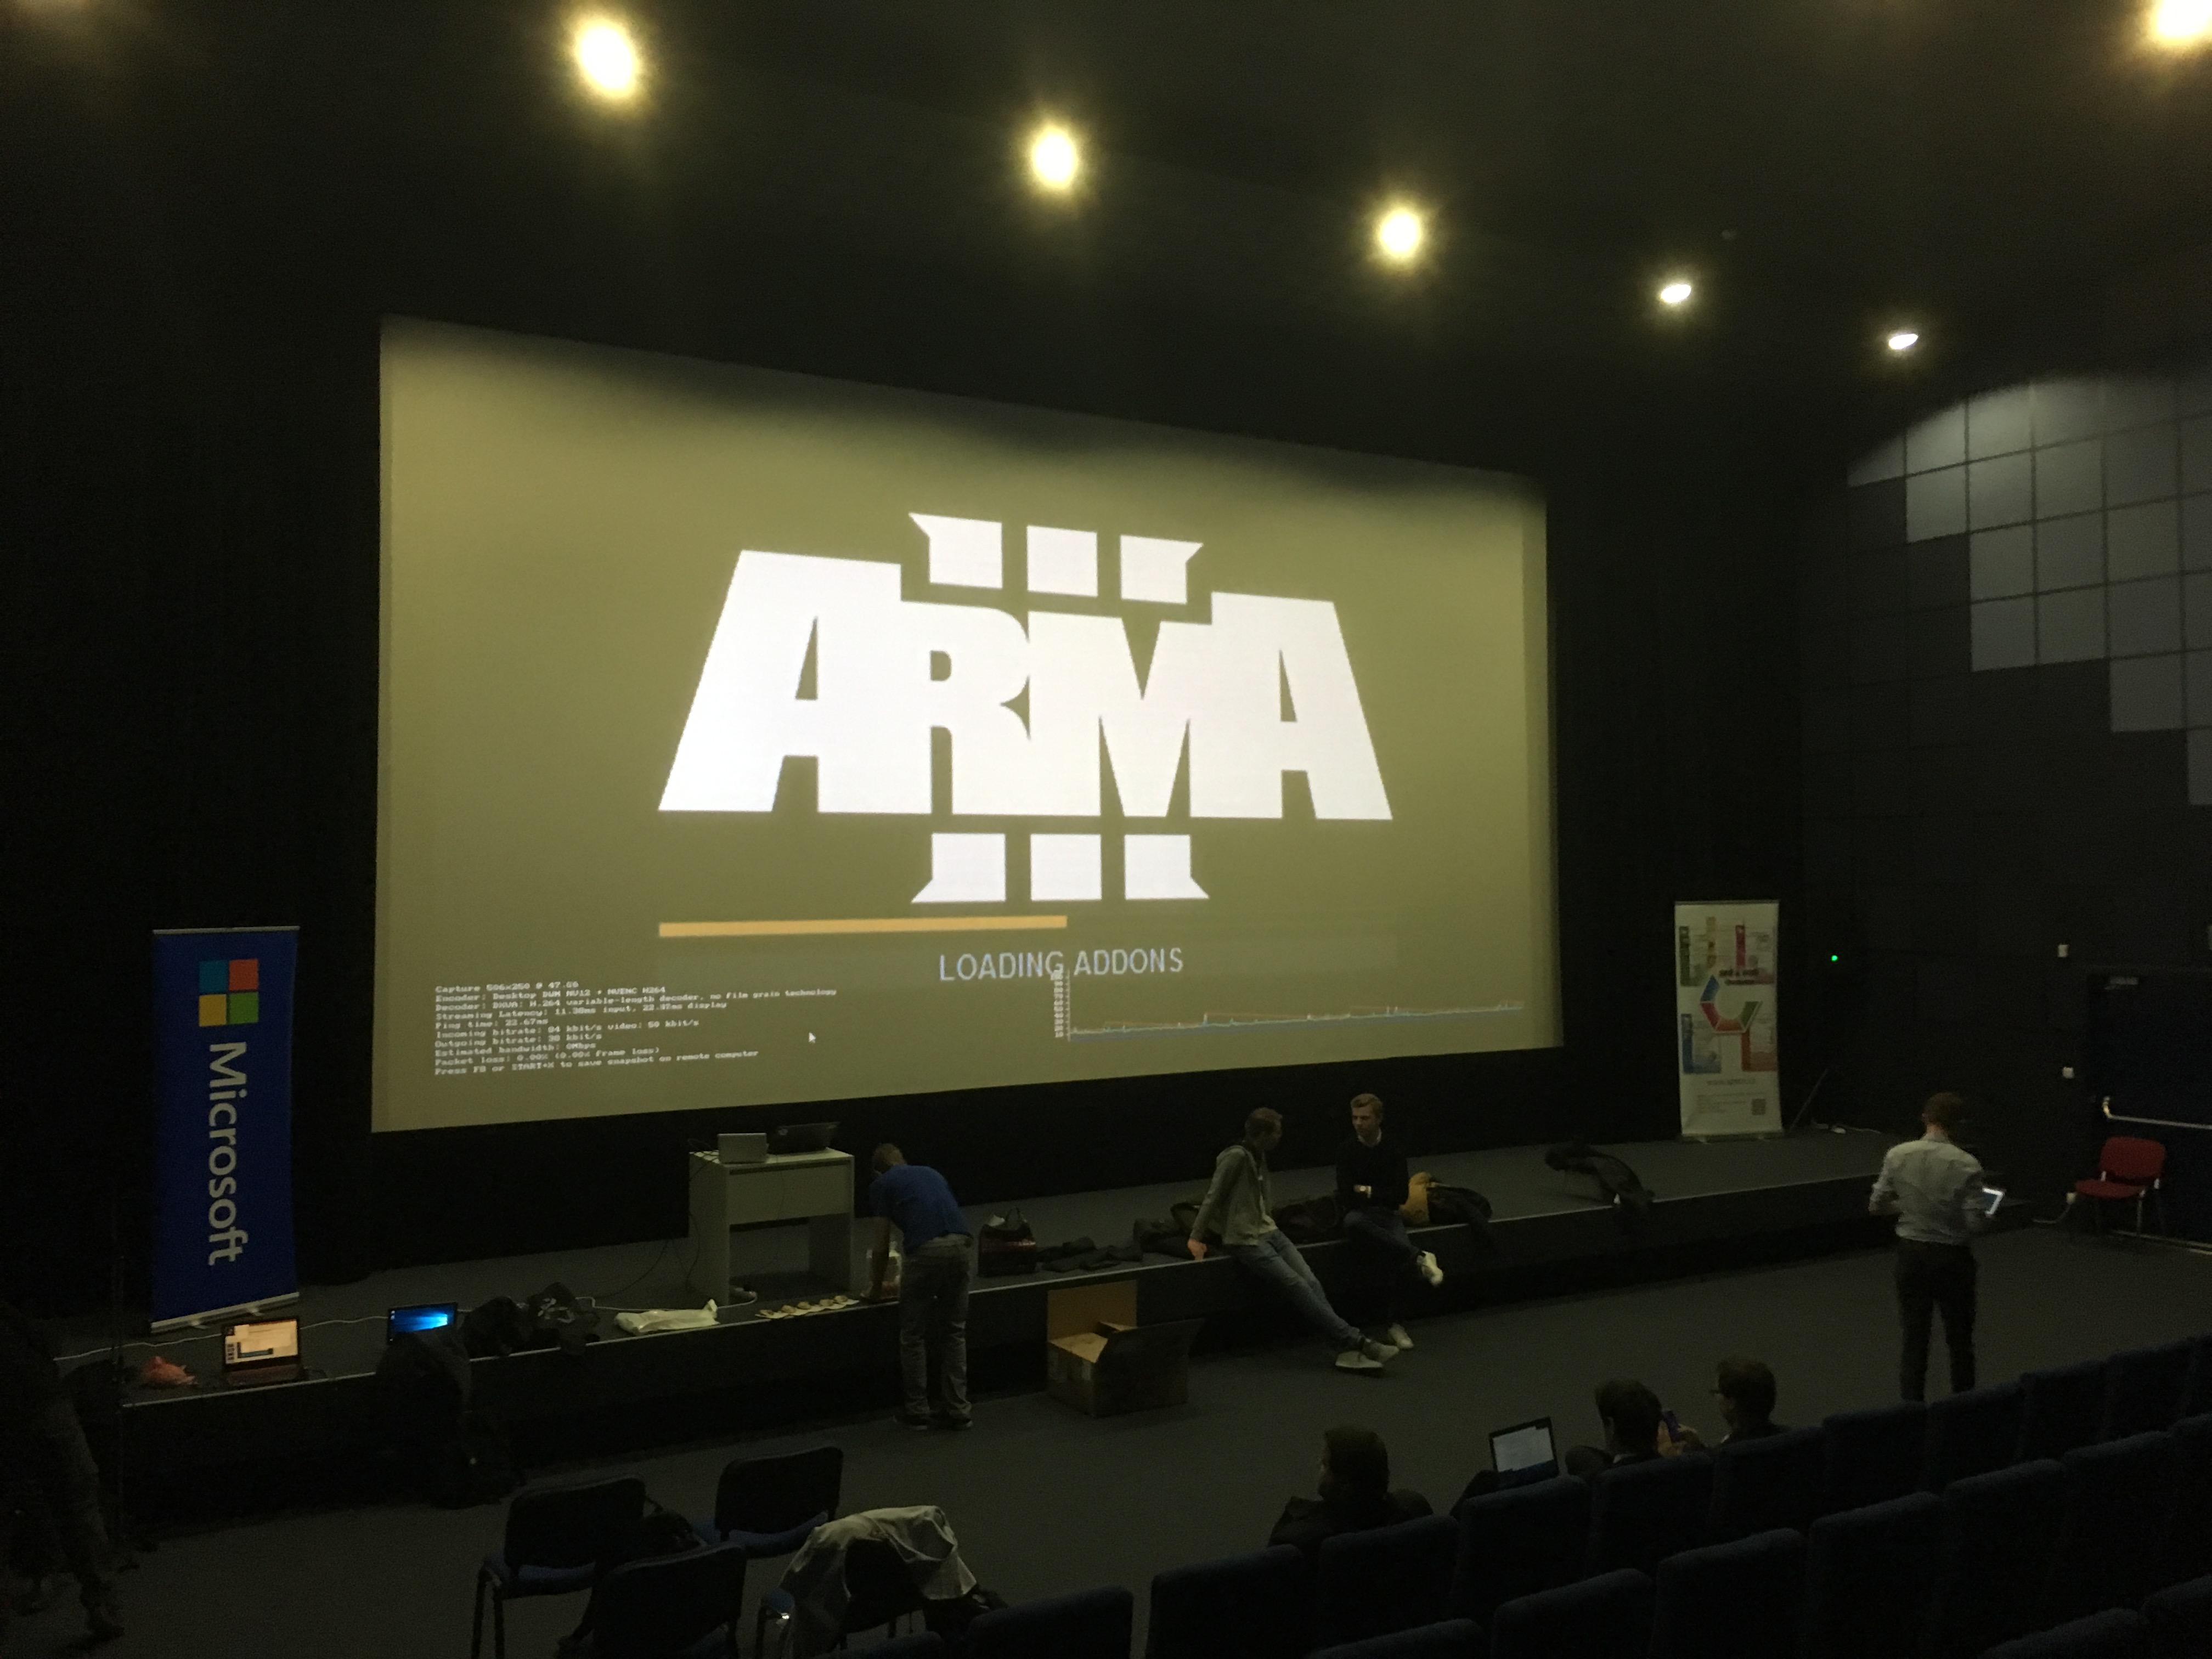
Initially, I have started with cloud gaming as a demo for couple of conference talks in 2017. I have simply setup an NV6 (now deprecated) VM in Azure, installed VPN (which was required back then), Steam and Arma 3 and was able to play on ultra settings without much hassle. Anywhere in the world.
This has truly changed my view on gaming. I previously wrote about how I am using my Surface Pro X for remote work (connecting to a workstation in the office etc. and also mentioned some of the gaming bits there).
While there are many options to game through, I have found Steam Remote Play to be the best option for me. I will include a tutorial (more like links) for this here, so you can try it out yourself as well.
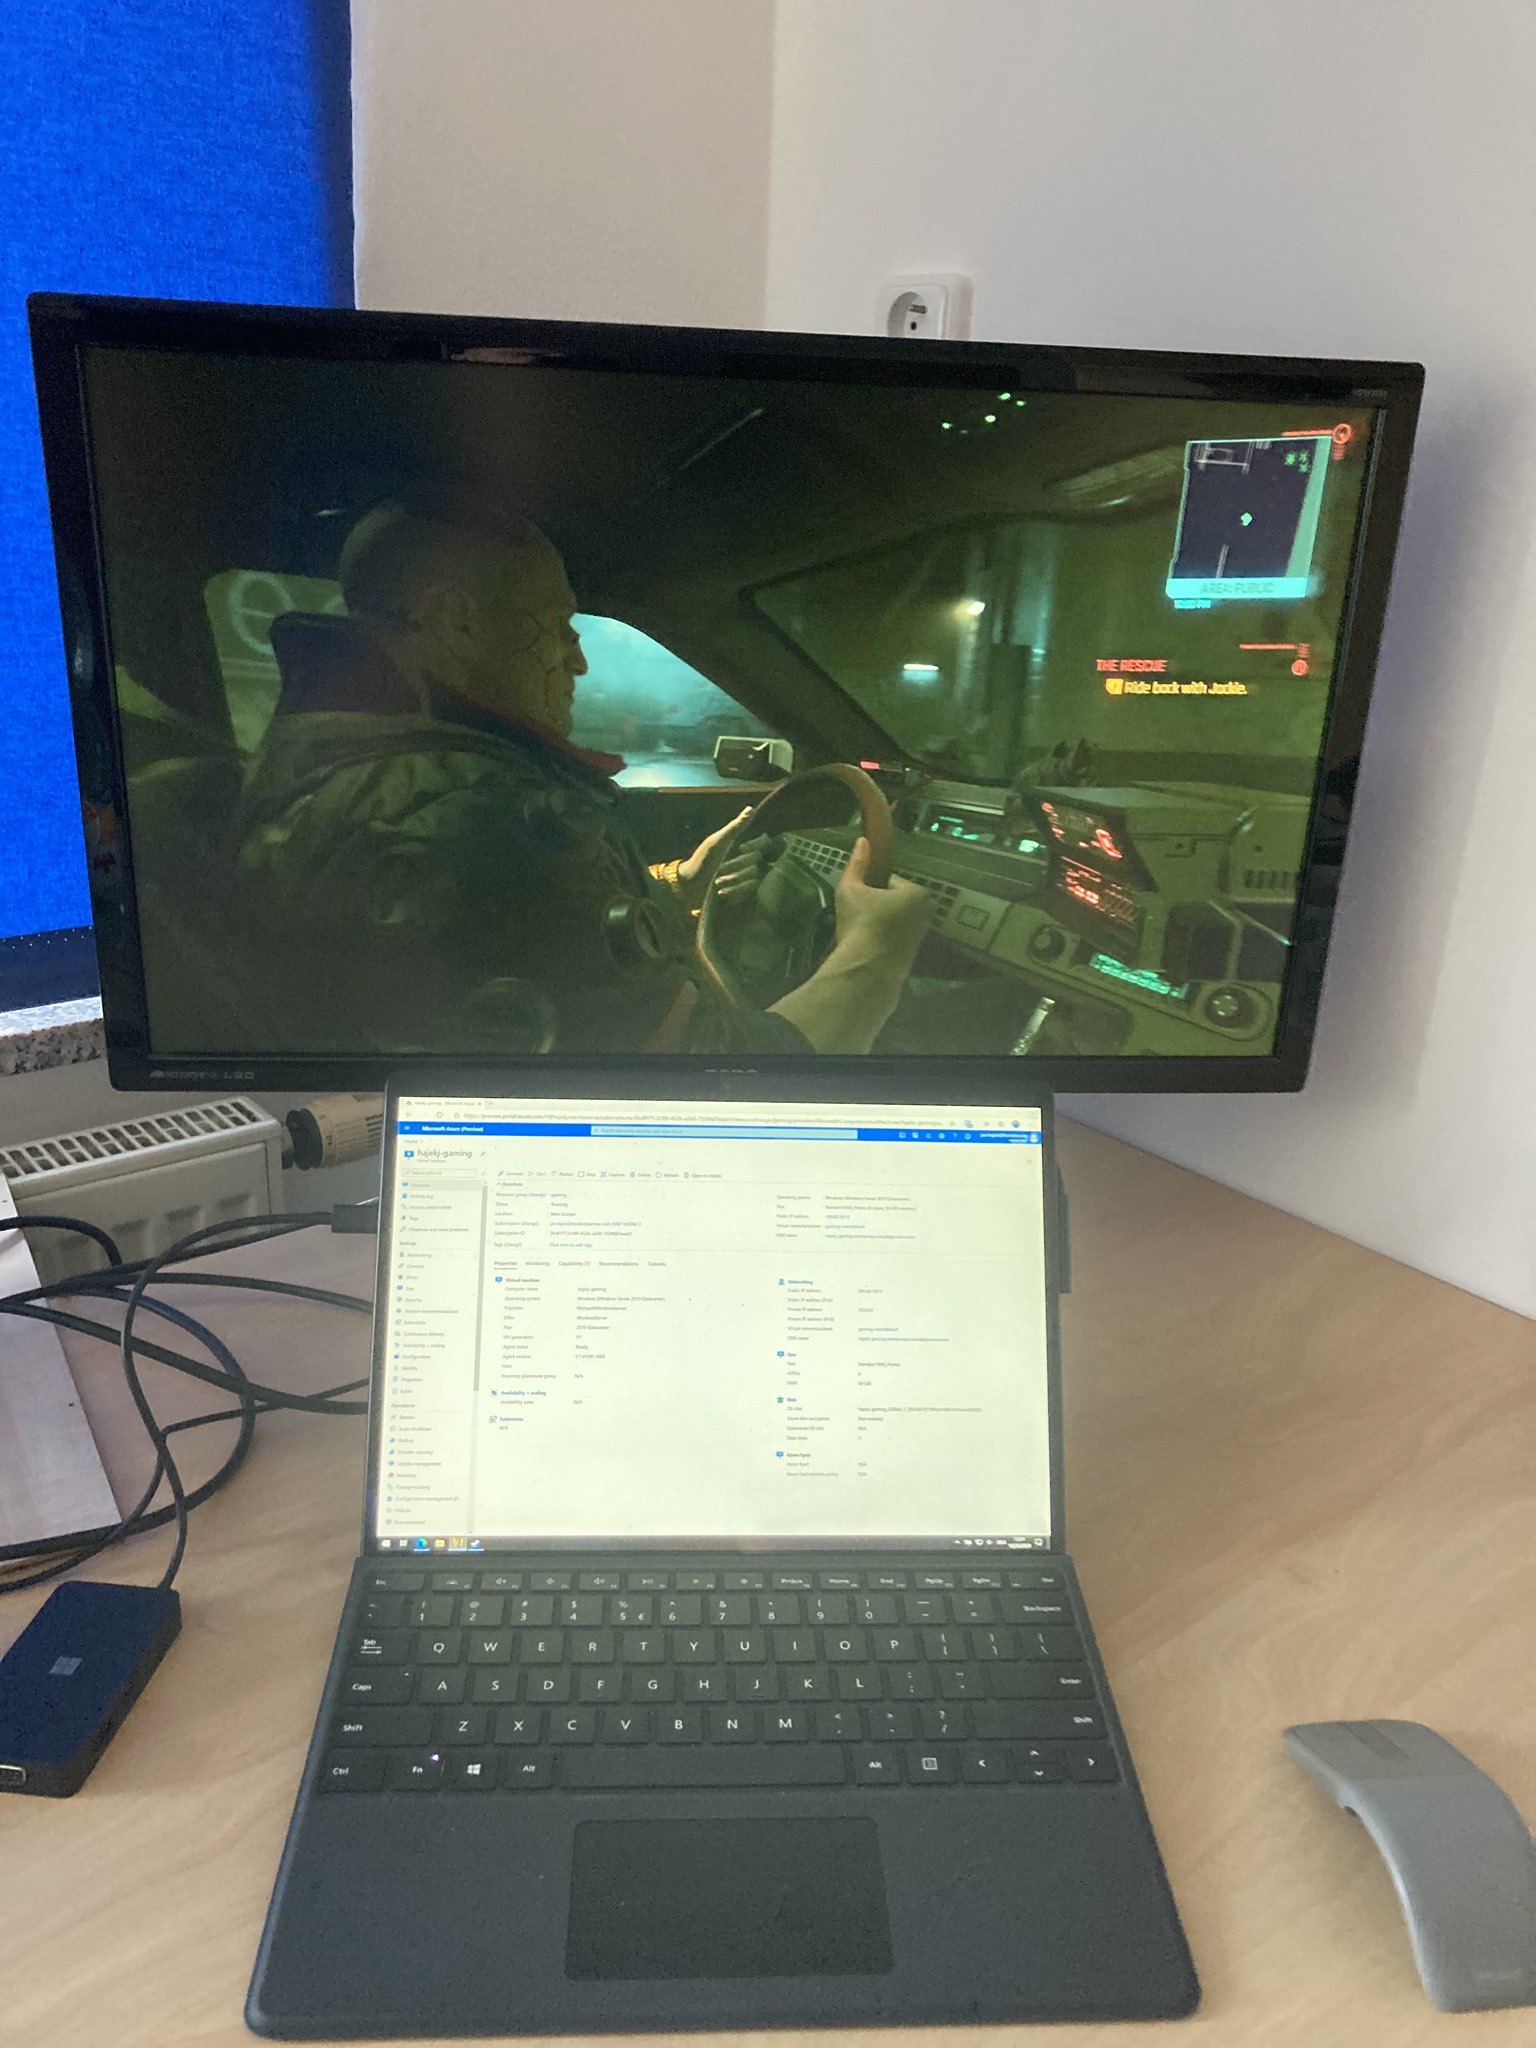
So what do you need? Start with an Azure account, and create a virtual machine of NV-series (currently NVv3). You can also choose NVv4 with AMD GPUs, but I prefer NVidia. You can also use spot instance to save money (with the risk of the machine being randomly shut down).
Next, you should choose your operating system. I am gaming on Windows Server 2022 at the moment, but you can also go with 2019 or Windows 10/11 images as well.
Once you log in to the virtual machine, you need to install the GPU drivers which you can get from Microsoft’s docs.
Next you will need to enable audio and install a virtual audio driver. The original code is from here (it is more advanced, and more automated setup, so feel free to use it, I just used this excerpt, because I didn’t want it to do autologon).
# Enable Audio Service
Write-Output "Enabling Audio Service"
Set-Service -Name "Audiosrv" -StartupType Automatic
Start-Service Audiosrv

# Install Virtual Audio Driver
[Net.ServicePointManager]::SecurityProtocol = [System.Net.SecurityProtocolType]::Tls12
$webClient = new-object System.Net.WebClient

$compressed_file = "VBCABLE_Driver_Pack43.zip"
$driver_folder = "VBCABLE_Driver_Pack43"
$driver_inf = "vbMmeCable64_win7.inf"
$hardward_id = "VBAudioVACWDM"

Write-Output "Downloading Virtual Audio Driver"
$webClient.DownloadFile("https://download.vb-audio.com/Download_CABLE/VBCABLE_Driver_Pack43.zip", "$PSScriptRoot\$compressed_file")
Unblock-File -Path "$PSScriptRoot\$compressed_file"

Write-Output "Extracting Virtual Audio Driver"
Expand-Archive "$PSScriptRoot\$compressed_file" -DestinationPath "$PSScriptRoot\$driver_folder" -Force

$wdk_installer = "wdksetup.exe"
$devcon = "C:\Program Files (x86)\Windows Kits\10\Tools\x64\devcon.exe"

Write-Output "Downloading Windows Development Kit installer"
$webClient.DownloadFile("http://go.microsoft.com/fwlink/p/?LinkId=526733", "$PSScriptRoot\$wdk_installer")

Write-Output "Downloading and installing Windows Development Kit"
Start-Process -FilePath "$PSScriptRoot\$wdk_installer" -ArgumentList "/S" -Wait

$cert = "vb_cert.cer"
$url = "https://github.com/ecalder6/azure-gaming/raw/master/$cert"

Write-Output "Downloading vb certificate from $url"
$webClient.DownloadFile($url, "$PSScriptRoot\$cert")

Write-Output "Importing vb certificate"
Import-Certificate -FilePath "$PSScriptRoot\$cert" -CertStoreLocation "cert:\LocalMachine\TrustedPublisher"

Write-Output "Installing virtual audio driver"
Start-Process -FilePath $devcon -ArgumentList "install", "$PSScriptRoot\$driver_folder\$driver_inf", $hardward_id -Wait
Next, you should create a shortcut on your desktop to disconnect the Remote Desktop session, and return it to the console. This is so that Steam streaming can capture the console screen and Stream it to you. The shortcut is simple (you can replace %SESSIONNAME with 1 if it doesn’t work for you), just make sure to run it as Administrator.:
%windir%\System32\tscon.exe %SESSIONNAME% /dest:console
If you execute this on your local PC, it will disconnect the session and the user will not need to login (eg. everyone will see what you are doing on your screens, unless you at least turn them off) - this is a security issue, so please don’t do this on your work PC.
Next, download and install Steam, install your games and enjoy. Also remember that you can also Stream non-Steam games this way by adding them to your library. So you can play Battlefield 4 and others.
And you should be good to go. The performance and cost benefits are really worth it, and it’s much cheaper than buying a good gaming graphics card (or an entire PC) as long as you are not playing 24/7.
Network connection optimization
This is for more advanced users, and unless you face latency issue in streaming (quality, lag, …), you don’t need to do this.
One thing to note is streaming performance. By default, Steam Remote Play works behind NAT and without public IP address, and everything gets routed through Valve’s servers, which adds latency on the route. In order to do that, open ports on your VM - you have to do this in the Network Security Group and Windows Firewall as well. You will need 27031 - 27037 for UDP and TCP (more info). Once you configure this, restart your VM.
Some people have used ZeroTier to estabilish a VPN (sort of like Hamachi), but I prefer direct connection.
Another crucial part is to verify that the connection is direct. You can do this by using Wireshark on your local PC and filtering for the VM’s public IP address - you will see a lot of UDP traffic when you start streaming a game. If you however see the traffic going through Valve’s servers (this sometimes happens, for unknown reasons to me), you can force a direct connection from your Steam client:
- Launch Steam on your local PC via
steam.exe -consolecommand - Open the Steam console and type
connect_remote <IP>:27036(replace<IP>with your VM’s public IP address) - Start streaming a game
- You can verify with Wireshark that the connection is now direct
For some reason, the connect_remote command seems to be necessary, but sometimes in the past, it worked for me without it. Maybe it’s a change on Steam’s side or something else, not sure. I also created a comment about the direct connection in the setup repo.
Launching GOG Galaxy (29SEP2024)
If you want to play games from GOG, the launcher is not going to start through Remote Desktop unfortunately (I really wonder who would write code in such way). The workaround (reference), is to create a .bat file to disconnect the remote session (just like when starting to stream), wait for few seconds and then launch GOG. Then you reconnect to the Remote Desktop session and GOG should be working.
%windir%\System32\tscon.exe %SESSIONNAME% /dest:console
timeout 3
"C:\Program Files (x86)\GOG Galaxy\GalaxyClient.exe"
To submit comments, go to GitHub Discussions.